


ROUTINE walkthrough: Complete guide on how to survive the Sci-fi horror
ROUTINE is a sci-fi horror game from Lunar Software and Raw Fury that takes place in a seemingly abandoned, retro-futuristic lunar base. It’s tense, atmospheric, and somewhat tricky to navigate at times.
Below, you’ll find Adventure Gamers’ complete ROUTINE walkthrough, including every crucial code, puzzle solution, and lore snippet.
- Chapter 1 – Birth
- Chapter 2 – Incision
- Chapter 3 – Re-Create
- Chapter 4 – Adrift
- Chapter 5 – Endure
- Chapter 6 – Legacy
Use the table of contents above to jump to a specific chapter if needed.
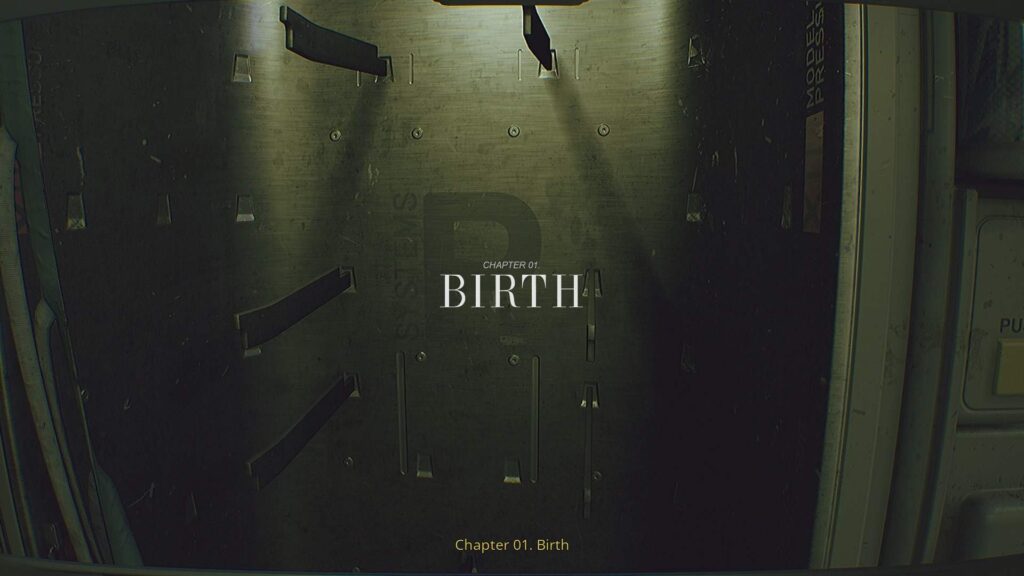
Chapter 1 – Birth
Getting started
After the introductory sequence, walk over to the terminal screen against the wall and open the form. This’ll present you with a quick tutorial on how movement works in the game – pay attention to the tip-toe movement, as this’ll come in handy.

Then, complete the quick survey that the terminal prompts you for after the tutorial sequence. Your answers don’t matter here.
Go to the left and pick up the helmet on the wall, then hit “print” on the terminal. Your ID will print out to the left, then it’ll fall on the floor – crouch and scoot forwards to grab it.
Once you have the ID, go to the right and use the next terminal to open the door in front of you. Almost all of the doors in ROUTINE require you to open them with a terminal, using the “open door” function on-screen.
Take the path to the left and follow it along. Wait for the shutters to open up – you’ll get your first glimpse of the moon here, along with a narration that discusses an introductory meeting.

Once the narration ends, head right, opening the set of doors ahead of you. Keep going through this room and to the right, through the next door ahead.
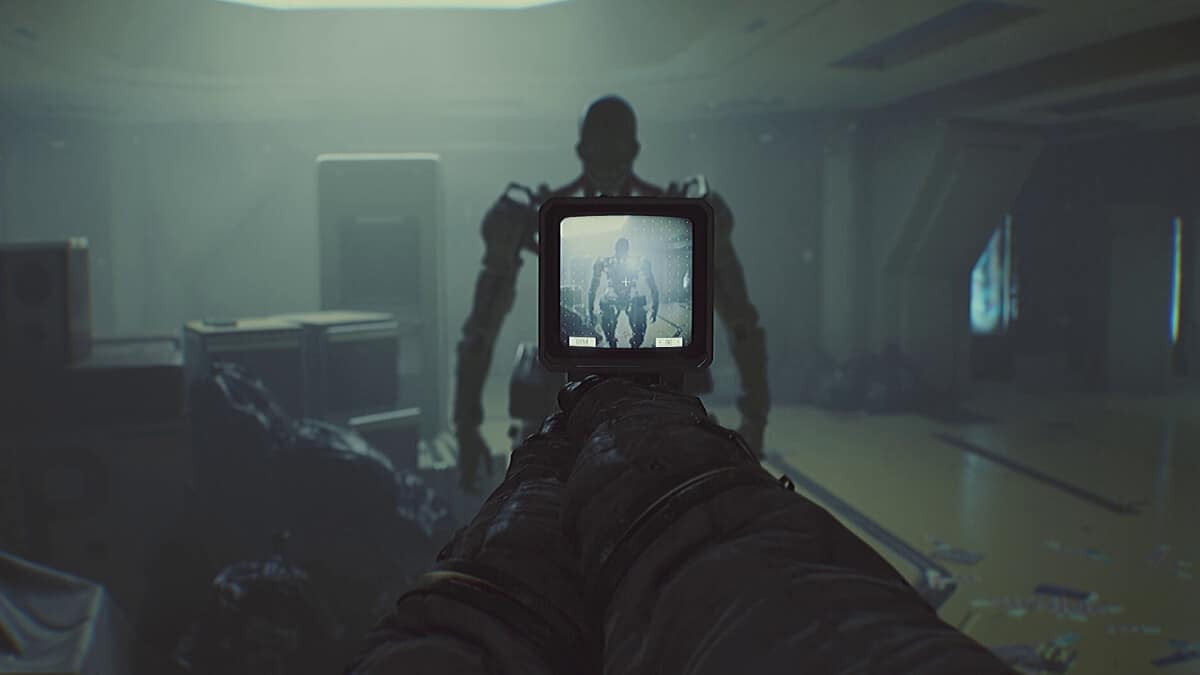
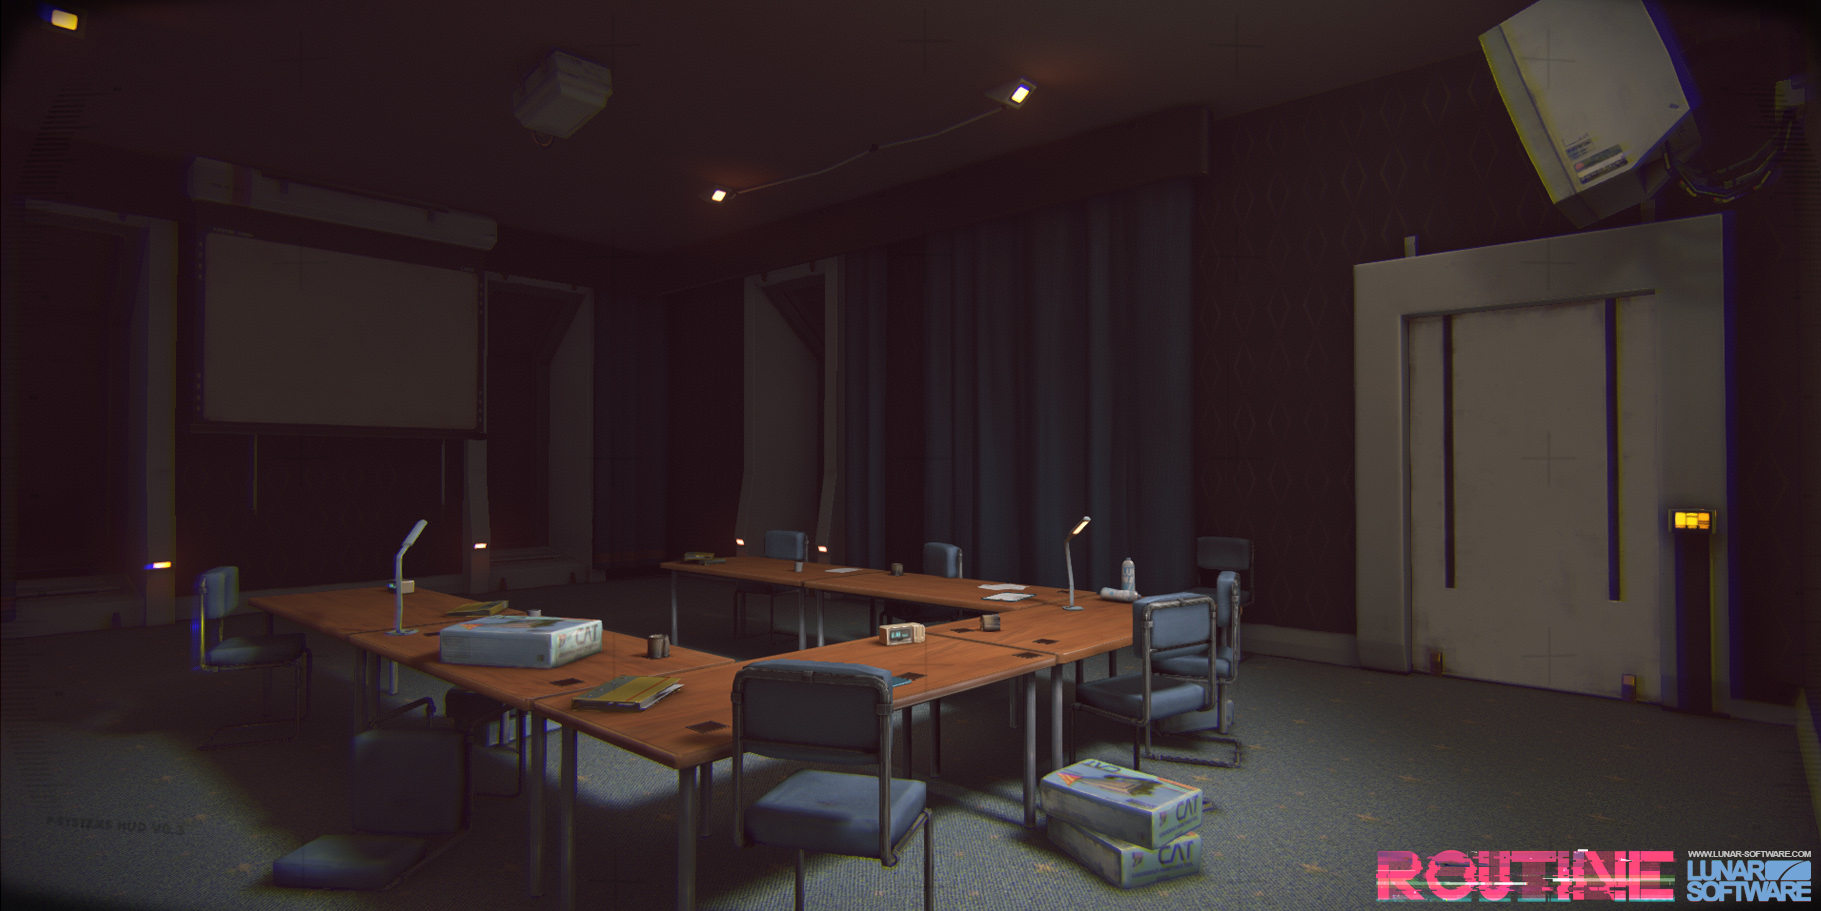
In this meeting room, you’ll be able to grab the C.A.T. from a table near the center. It’s a white, gun-like object. This clunky piece of tech will be your lifeline throughout ROUTINE, acting more as a useful tool than any sort of weapon.

Once you’ve picked up the C.A.T., a presentation will appear on the nearby projector screen. You’ll be able to tab through each slide at your leisure.

It’ll prompt you to grab a battery and insert it – there should be one on the table, but there are others in the next room over to the right.
Interact with the C.A.T. and select the top of the tool to insert the battery.
Then, approach the project and interact with the C.A.T. again, hitting the wireless button at the top of the tool, with multiple lines down the middle. This will open the Wireless Access Point on the projector, where you can save and find crucial details.

Hit “save data,” then open the database. It’ll inform you what the elevator pin is – this is different for every run. It’s worth having a pen and paper handy, as this game features lots of codes.
Head back out to the main hallway and cross over to the next door. Enter the pin into the terminal, then open the door, and select “gateway” to continue. The elevator will then take you to the gateway section.

Exit the elevator, then go down the red hallway to your left. There’ll be a damaged terminal dangling from the ceiling, along with a tape recorder. Listening to the tape will inform you that something has gone terribly wrong with the ASN security system, and that you need to find someone called Kei.
Head back the way you came, towards the sign saying tram station. There’ll be a sparking fuse box up to the top left – aim at it with the C.A.T. and fire to open the gate, then head through.

This path will take you to the tram platform. Save your game at the Wireless Access Point on the right-hand wall, approach the tram to open the door automatically, then head inside the carriage.
Inside, you’ll be able to select a destination from a terminal. Choose “The Mall” to continue.
The Mall
Exit the tram – you can save your game to the right if desired – then head through the exit to the left and follow the path along. Ready to meet the best character in the game?
At the end of the path, a little robot-spider will pop up and introduce itself as the IC.

They’ll power off behind the desk, so hit the red assistance button to the left to continue; this’ll prompt the IC to take you to log in.

Here, you’ll need to sign in with your ID. As with most of the other codes in ROUTINE, it varies based on the player, so look down at your chest to find your number, then input it and follow the other prompts. Other than the ID number, the answers don’t matter.
The terminal will promptly break, so head back to the assistance button and get the IC’s attention again.

The IC will walk you out of the room and through a pathway to the staff-only ladder. Head downwards.
Once you’ve climbed down the ladder, follow the hallway along, save your game, then keep going to the right.
There’ll be a notice here about magnetic fields affecting the C.A.T., which can be fixed by hitting the smaller button to the right of the wireless button on the tool.
Shoot the fuse box through the gap on the left-hand wall to open the small vent towards the floor, then crouch down and crawl through. Hit the red button on your right to exit the vent.
The room you’re in is a store in the mall. Head towards the exit to trigger the security doors, then head back behind the desk in the center of the room. Crouch down all the way and press the red security button on the floor.
Stay crouched below the desk – an enemy will come to investigate, opening the door for you. Don’t move!
Once the room is clear, exit and head to your right, following the path along until you reach a blue playground area, being mindful that there are two enemies patrolling.

Look on the furthest wall of the playground to read a note explaining that the gate ahead is locked and that you’ll need to go through an office in the back of the Megazone.
Exit the store and go back down the hallway, heading along until you see a pink-lit area with a sign saying Megazone. There’s just enough room for you to crawl under the shutters.

There’s a hallway leading out of this area to the left, leading to a locked door. To open it, follow the wires along and shoot the fuse box towards the ceiling.

This will unlock the Megazone office.
Inside the office, grab the battery on the desk and listen to the audio log near the whiteboard. Then, use the “door” tab on the terminal to open up the locked gate in the playground area you were just in.
Make your way back through the Megazone shutters and into the blue playground, and head through the newly unlocked gate.
Once through, go along the corridor and take the first right, crawling under the partially open shutters.

You’ll find yourself in a large atrium. Cross over to the other side of the room to find O’Neill’s Electronics.

Near the purple wall, you’ll be able to pick up the Ultraview module – a gray item on a podium that’ll upgrade the C.A.T. and give it enhanced vision when you enable the module and have the trigger held down.

Head to the back room to save your game, then try to leave the store. The shutters will close.
Go back into the back room and use the Ultraview module on the keypad screen on the terminal. This will reveal a code – as always, it’s different for every run – indicated by fingerprints. The biggest fingerprint is the first number and so on.
Input this to leave.
Make your way back through the atrium and under the shutter, then retrace your steps to get back to the mall’s entrance. From here, go through to the courtyard area and head towards Galaxy Video, indicated with red lights.

There’s a save point and a battery station along the left wall if needed.
Head to the back of the store to find the locked security gate – there’s a note above saying that you need to restart the elevator, then open it through the Megazone office – and use the Ultraview module to read the code to unlock the door.
Lean into the opening at the end of the hall, and fire a projectile with the C.A.T. at the relay box to the left.

Then, make your way back to the Megazone, going through the courtyard and to the left, towards the pink lights and under the shutter. Go through to the office again – your character will have a moment, then use the terminal to open up the mall shutter.
From here, you’ll need to make your way back to the elevator across from Galaxy Video in the courtyard without the enemies catching you. Don’t try and gun it; go stealthily, as the elevator won’t work if they try to get you.
In the elevator, hit “station” to go back to the tram station. Run back towards the tram – your character will faint, and a strange scene will play, before you regain consciousness on the tram itself.
Choose the “living quarters” option on the terminal to continue.

Note the post-it note nearby – it mentions the room 04B, which is your next target area.
Chapter 2 – Incision
Living Quarters
Exit the tram, save your game to the left, then head up the escalators.

The elevator you need is to the left, but the terminal is faulty. Crouch down, pull the red handle at its base, then pull it again.

Then, open the door with the terminal, get in, and select “living quarters” on the elevator terminal.
Exit the elevator and use your ID code to log in to the living quarters terminal – remember, look down to see it. The gate ahead will open. Be wary – there are enemies ahead.
Your first aim is to get to the C block, so follow the path through the reception area and along until you reach the correct corridor. There’ll be a faulty wire box up near the ceiling – shoot it to open the door to your right.

Head through the door and follow the path along, taking the left-hand turning and running into the next room over.
There’ll be a crawlspace accessible under a desk ahead of you – crouch down and go under.

Follow this vent along and press the red button to exit.
You are now in the CCTV room. Use the terminal and hit the camera option, then tab over til you reach the reception camera. Move the camera to the right and zoom in to find a note with a key code. Make a note of this code.

Use the terminal to open the door. Head straight down the path, then take a left, heading back to reception.
Input the code at the reception door – being careful you don’t get snuck up on – then open the door and head in.

There’ll be a fire warning flashing on the wall. Interact with it to make it stop, then listen to the tape recording on the desk.

From here, head carefully out of the reception and make your way to B block, following the path along to get to the laundrette. Room 04B can be accessed by going down through the laundrette door – it’s on the other side of the room.
There is an enemy standing immobile near the door. If you’ve played a horror game before, chances are you’ll be able to guess what happens once you come back out of room 04B.

Save your game, then pick up Kei’s ID from above the terminal. Watch the media clips on the terminal, then get ready to make your way back out.

You’ll need to make your way back out to the elevator and get back to the tram station, cutting through the CCTV room to avoid the locked doors.
Just like last time, if enemies are actively chasing you, you will not be able to use the elevator, so a stealthy approach while retracing your steps is advisable here. Use desks and dark hallways to your advantage.
Once you’re back in the tram station, make your way onto the tram, saving and getting new batteries if needed, then select the “gateway” option.
Back at the gateway, head out of the tram station and follow the path along to get back to the red hallway from earlier.
Scan Kei’s ID at the terminal, then use the Ultraview to see the code that you need to input on the screen.
Once this has been input, the nearby IC will wake up and, after a moment, tell you to shoot it. As cruel as it feels, do this – it’ll open up the elevator behind the terminal, allowing you to progress.

Get in the elevator and choose “ASN” on the terminal.
Chapter 3 – Recreate
ASN

Exit the elevator and head straight on. Next to the body on the floor, you’ll be able to save your game. There’s also an audio log next to the corpse.
Continue down this hallway and enter the large room ahead of you. There’ll be a strange, glowing orb in the center of the room.

Follow the left-hand wall along until you reach a terminal, then press the C.A.T. button on screen. Connect using the wireless button on the C.A.T. to learn that the error codes are E04 and S04, both relating to memory usage.
Click to get rid of each of the error messages on screen after you’ve done this, then click shutdown, followed by initiate.

It’ll instruct you to go to the next terminal, so follow the left wall along again until you reach another red terminal.
Click continue. It’ll prompt you to make sure that three nodules are lowered in the center of the room. Based on our playthroughs, this varies each time.

Head to the center of the room and interact with the three corresponding nodules. These are the glowing white shapes.

After you’ve done this, there’ll be a moment where the lights continue behaving erratically, then a terminal will light up red. Head over to it and press continue.
You now need to hit both manual release switches, then shoot the center of the ASN orb with your C.A.T. to shut it down. The switches are illuminated in the center of the room, and you’ll need to wait a few moments before hitting the next one.
Once you shoot the center of the ASN orb, your character will black out once again.

You’ll regain consciousness on the moon. Run past the strange sphere ahead of you and keep moving.

A cutscene will trigger once you’ve kept moving for a few moments.
You will then come back to reality in front of a screen, with an exit door behind you.

Head through the door behind you.
Chapter 4 – Adrift
The Ward

Head to your left and follow the narrow path, continuing to go left until you reach a room with a dead screen.

There’s a save point on the other side of this screen, with a couple of batteries slotted into nearby shelves.
Crawl through the access hatch near the hallway you entered through.
Select all three of the options on the screen in this room – The Archives, Door Imaging 01, and Door Systems – then crawl back out.

The dead screen will now have power in this room.
Choose “Begin Reboot” then “Enable the Security Interface Monitor” when prompted.

Next, head through the open door on the other side of the room, leading into a strange area with a tree.

Go left and follow this path along until you reach a terminal called Henry’s Terminal – there’s a fair bit to read and watch here, shedding more light on the story.

Look at the table to your right for an audio log. Listen to it, then head left from the table.

In this narrow hallway, hit “Door Reception” on the breaker box, then come back out.

Go to your right, crawling into the open hatch.
When a left turn appears, take it, then take the next left turn that leads to an open hatch. This will take you to the reception area.

Here, you’ll be able to read through crucial lore files on Sophia’s Terminal and listen to an audio log on the desk.

There’s also an Interface Module on the furthest desk. Pick it up to install it into your C.A.T. and read the instructions nearby – using it requires enabling the module, pointing it at a target screen, and pulling the trigger.
Use the Interface Module on the door’s panel to leave, then head right, going into the tree room and back into the room with the save point.

Save your game, turn everything back on in the crawl space in this room, then use the Interface Module on the small screen above the larger screen on the other side of the room to get Archive Security clearance.
Head back out into the tree room and go left, towards the reception area, then back into the small hallway with the breaker box. It’s near the table that had the audio log.
Check that Door Commons 01 and 02 have power.
Exit this hall and turn left, opening the door ahead of you with the Interface Module.

In this room, you’ll be able to read through Barbara’s Terminal.

Head through to the next room over when you’re done snooping and check out the next terminal – Kali’s Terminal, alongside Kali’s Locker.

Then, head down the path to the left and read both of the documents on the desk in this room. There’s an incident report.

There’s also a canal sample report.

Exit the room to the left and follow this path along, turning left at the end, then immediately left once more to find a small pathway leading to a breaker box.
Turn on the Lift Servers and Door Imaging 02.
Exit this hallway and keep heading onwards until you get to the end of the hallway, then turn right. Keep going along – there’ll be a room where you can find an audio log on a well-illuminated desk to the left.

Once you’ve listened to this, enter the elevator on the other side of the room, using the Interface Module to open the door.

Hop in and press the button on the right-hand wall to take the elevator down to the servers.

Servers
Once you’re out of the elevator, follow the corridor of server terminals to its end and hit “Diagnostics” at the terminal you find.
Connect your C.A.T. with the wireless feature.
The terminal will inform you that several server terminals have been damaged. These vary from player to player, so make a note of which ones pop up for you – ours were H1, A1, E2, and A3.

Head back into the nearby corridor and interact with the corresponding server terminals to pull them out.
Once the correct terminals have been pulled out, head back to the terminal and repeat the diagnostics process. Then, close this window and open up the Server tab instead.
Follow the steps the terminal describes – stand in the highlighted zone and use the Interface Module on the screen above. A small scene will play.
Now, it’s time to make your way back to the room with the tree, via the elevator. The lift will take a few attempts to work.
An alien with the ability to turn invisible will begin looking for you at the point in the game. You can see it through the C.A.T., but it’s best to turn your audio up and listen for it.
Save your game once you make it to the tree room, then head into the crawlspace. Ensure that the Archives power is turned on, then exit the crawlspace and hit “Begin Reboot.”

After a while, the screen will say that we need to go to the Founder in the Annex Room. Before you leave, read through the diary entry – it contains a vital code that differs from player to player.

You’re going to need to head back to Kali’s Locker and input this code to retrieve a cipher and four photos inside the locker. The code will be used in a keypad in the bathroom area to unlock a gate nearby.
Stealthily make your way back towards the locker. It’s worth a stop by the breaker box near reception to check if both Door Commons power sources are enabled.
Input the diary code to retrieve the cipher and the photos.

The photos represent locations where you’ll need to find a symbol, which will then, in turn, provide a code via the cipher.

The locations are:
- The tree in the center of the tree room
- The wall near the right-hand sink in the bathroom area
- A wall of the reception area
- A wall with cables on it near the server lift
The code and symbols vary from run to run. There’s no particular order you need to complete these in, but we’d suggest leaving the bathroom one until last to save yourself from having to run back for the keypad again.
Once you’ve input the code, the gateway will open in the bathroom and let you into the next room over.
Walk through and select the “Begin” option on the screen to your left.

It’ll prompt you to head into the Optical Room, which can be found to your right.

Head in and begin the test on the screen. You’ll need to select how many objects move counterclockwise, then identify an item in the middle of blurry dots.
Once you’ve done this, you’ll be prompted to head to the Auditory Room, in the next corridor over.

The tasks in here don’t appear to have incorrect answers, but it’s still worth having your headphones on.
When the tasks are complete, head to the terminal in the main room and choose “Start,” then go to the far end of the room.

Crawl under the gap and into the watery room, then pick up the ID on the metal pipe ahead of you.

Make a note of James Mason’s ID number here, as it changes from player to player.

Then, go back to the main terminal and look behind it for James Mason’s terminal. Listen to the audio log next to it, then log into the terminal with the ID number from the other room.

Open up the security tab after reading the diary and emails, and follow the instructions to upgrade your Interface Module.
Then, head back into the main area of the building, progressing to the reception area. Access the breaker terminal here and turn on the Lift Entrance’s power, then head to your right and open the lift with the C.A.T., before pressing up in the lift.

Exit the lift and head into the room straight ahead of you, interacting with the terminal on the right to begin the airlock procedure.
Then, shoot the Interface Module at the screen above the terminal.
Chapter 5 – Endure
Laboratories

Make your way through to the room ahead of you, then use the terminal on the right to initialize an airlock procedure, shooting at the top of the terminal when prompted.
There’ll be a small scene, then you’ll be able to walk out onto the moon.

Follow the orange markers along the moon’s surface.
You’ll reach a new moon base area at the end of this path.

Rise and repeat – use the terminal to initiate the airlock sequence, then head inside.
In this new room, you’ll be able to save your game on the right-hand wall.
Cross the room and open the Main Wing door with the Interface Module.

As you head in, there’ll be a body on a central terminal.

Cross to the right side of the room and open the Laboratory 01 door.

Listen to the audio log on your right once you’ve entered.

Read through the data on Kenneth’s Terminal, grab a battery from the desk with the audio log if needed, then get in the vent on the far right side of the room.

Go to your left, then take the right-hand turn.

In this new room, cross over to the right-hand path and save your game.
Then, crawl under the gap and enter the next room, making your way into the central cafeteria room. You’ll need to grab an ID card for Maria Ivanov from one of the tables here.

Once you’ve said hello to an old friend and picked up the ID card – making a note of the code, as it varies from run to run – exit the room to your left and enter the next room over.

As you might’ve guessed, you aren’t alone in this area, so move stealthily, using the provided cover and your C.A.T. to stay out of harm’s way.

Enter Maria’s code in the terminal you find here. Read through the emails, then open the EXE program, then make sure to close this window once it’s finished running to open the next door you need.

Exit this room and go right, heading back into the main room and crossing over through the door named Solace.
Follow the hallway down to the left, sticking to the left until you reach a breaker terminal. Turn on the Main Door Wing, then backtrack and turn to your left, entering the small vent near the seating area.
It’s a linear path through here, with several winding turns that’ll spit you out in a laboratory area. There’s a save point just above the exit vent.

In this room, you’re going to need to make something called the EL-9 Disinfectant by inputting the correct materials in the terminal, based on information scattered around the room.
Here’s how to make the EL-9 Disinfectant:
- Isopropyl Alcohol for the base
- Copper Ions for Active 1
- Hydrogen Peroxide for Active 2
- EDTA for Stabilizer
Hit test, then wait until the machine finishes running. The main laboratory will now be accessible.
Save your game again, check you have the Interface Module equipped, and head back into the crawlspace. From here, you’re going to need to backtrack through the crawlspace, then take a right when you exit, back into the tunnel where you used the breaker terminal.
Use the Interface Module to open the door, then head through. The aim is to get back through the room with the central terminal and end up back in the initial room where you entered for chapter 5.
Save your game here, then head into the decontamination room. Once the sequence finishes running, head through to the newly opened room and look for an ID from William Davis near the desk in this room. Make a note of the ID – it differs from run to run.
Exit this room and go right, then right again, going back to Laboratory 01. Head into the crawl space to the right of the terminal here, remembering to keep an eye out for the alien that’s still hoping to have you for dinner.
Follow the crawl space through and make your way through the water treatment facility area, saving, then continuing under the door to the canteen. Cross the canteen to input William’s code into the terminal, opening up a shutter to your immediate right.

Head through, and go down the ladder.
Follow this path along, then go down the next ladder you find.
Here, you’ll need to go down the tunnel, right, left, straight up a ramp, left at the top, right, then left again.

This will take you to a red room of pipes. Interact with the red wheel in the center, then backtrack to the ladder.

Make your way up – a scene will play as you do. After this, leave and head through to the canteen. Crawl back under the door you entered through and save your game.
From here, head down the ladder in the next room.
At the bottom of the ladder, go into the tunnel and turn left. Then, head right to find another ladder – go up it.
Keep heading forward until you reach an area you can crawl under. You’ll be able to save your game in this new room.
Read through the documents on the table and listen to the audio log.

Then, use William’s code to log in at the terminal. Read through the files on the terminal, then hit “security” to upgrade the Interface Module, shooting the screen above when prompted.
Save again, then head back under the crawlspace. From here, you’ll need to backtrack, going down the ladder, through the tunnels, and back up the other ladder.
From here, go through the crawlspace opposite the ladder – not the one leading back to the cafeteria – and make your way back to the initial entrance area. You’ll be able to access the lift, begin the airlock process, and head back up to the moon’s surface.
Follow the markers back across the moon to the other entrance, and repeat the airlock process.
Chapter 6 – Legacy

Finish the airlock process, then listen to the audio log on the table in front, picking up a battery if needed.
Get in the lift and head down – you will now be back in the Ward’s reception area. Head down the path and find the breaker box to your left, turning off both the Lift Entrance and Door Commons 02 power, then turning on Prong 01.
Go through to the tree room, head into the room with the save point, and use the breaker box to turn everything back on, then head into Imaging 01 from the tree room.

Continue to your left and follow the corridor along, using the breaker terminal at the end to turn on Echography and turn off the power for Imaging 01.

Backtrack down the corridor, remembering to move with caution, as the alien is still on the loose.
Head into Echography and listen to the audio log on the desk. Then, check out the terminal behind the screen on the other side of the room – it’ll inform you that you need to align both Prong 01 and Prong 02 to continue.
Prong 01 can be found right near the tree room.

Prong 02 can be found closer to reception, with its breaker terminal down the corridor from it.
To align the prongs, you’ll need to interact with each terminal and get both Proximity and Clarity to 100%, using the arrow keys on the screen. It takes a little trial and error, but once you’ve done this for both, you’ll be able to head back to Echography.
Back in Echography, hit “Continue” on the terminal and wait for the sequence to finish running.

Exit Echography and head back to the red hallway to the right, turning right, then left at the end, and following the narrow path along.
This’ll take you to a room with a large fan and some strange plants.

Head to the other side of the room and through the door here. Your character will stumble as you approach the door.
Enter the room and select “Yes” on the screen to inject amniotic brine.

Gross. Once the bar is full on the screen, everything will start shaking, with the text reading “The Canal is ready.”
From here, you need to backtrack to the room with the save point by the tree room, back where this chapter officially kicked off. Move carefully – you’re close to the end, so getting caught by the alien here would be frustrating. Trust us.
Save as you enter, then head to the narrow doorway on the other side of the room where you entered initially. The alien will pop out to say hello and grab you – click the play button on the terminal to distract it and free yourself.

Once the alien is transfixed on the screen, continue through the narrow pathway to the blue room, following the room to its end. Initiate the airlock process as normal once you get to the end of the long hallway.

You’ll then need to keep walking forward through the next sequence. You’ll end up in a strange cavern, and eventually, see a canyon straight ahead of you. Keep heading forward into the canyon until a scene plays.

You’ll briefly regain control of the character and need to approach a strange orb ahead of you. With that, you’ve finished ROUTINE, wrapping up the final chapter in the game. Time for a second playthrough to mop up any missing achievements?
FAQs
Who made ROUTINE?
ROUTINE was developed by Lunar Software and published by Raw Fury.
What type of game is ROUTINE?
ROUTINE is a sci-fi psychological horror game.
When did ROUTINE come out?
ROUTINE was released on December 4, 2025.
Is ROUTINE a scary game?
Yes, ROUTINE is a tense and atmospheric horror game featuring unsettling environments, psychological tension, and some jump scares. It has elements of survival horror.


Top Adventure Games
More